Nightstand Redo...The Fun Of The Change
I love to treasure hunt! No I'm not a pirate, but I do love going to thrift stores and antique stores looking for things I can transform. I absolutely love to look at something that is ugly, scarred and has lived a long hard life and see the beauty through it all. I love to look at something with the hubby and he says, "That's a piece of junk!" and in my mind I'm thinking about what a beauty it can be. With that said, I've been doing a lot of treasure hunting lately! We'd been looking for nightstands for a couple of months and hadn't had any luck. Everything was either too wide or too short. We had something very specific in mind. They needed to be high as our bed is very high, but they needed to be narrow too since we had limited space on either side. Not an easy find! We have a lot of dark furniture, curtains and a dark rug so I needed to figure out how to lighten the whole room up. I knew one way would be to find some night stands and paint them in a lighter shade.
One day we decided to go to an antique store where we found our dresser for our master bedroom (that is another treasure and another blog post!). We went in looking for a steamer trunk, never thinking we would find night stands at an antique store. We came out with something totally different. I saw some tables or nightstands and asked the owner about them. He's the sweetest older man who says every time we buy something from him, no matter what the condition, "All that needs is a bit of Old English." He told me these 'tables' had been ends of a 1920's desk. There had been a top and then a shelf which went along the bottom and both shelves were ruined. All that was left were these 2 sides of a mahogany desk. They were the PERFECT size and height and I fell in love. The hubby wasn't as sure as I was. There were layers of wall paper or contact paper on the tops and I knew I could get them off, but they definitely needed some serious work. They were priced at $48 each, but my great negotiating hubby was able to get the price down to $75 for the pair....SOLD!
This is how the top of one nightstand looked. This particular side had a burn spot that looked like someone put a burning ciagretee on the desk. I guess they used to smoke at work back in the day! Needless to say it was burned down pretty far, but I knew it would be OK! At least I hoped it would be :-)

We brought home our new additions and after a stop at Home Depot to get a wallpaper scorer I got to work! I watch a lot of HGTV and read a lot of home improvement and decor magazines so I knew a few ways to remove this paper. I decided to remove the wallpaper/contact paper by spraying it with a mixture of warm water and dish soap after scoring the paper. I was amazed because it worked brilliantly.
This is what I found underneath the first layer of lovely paper. More paper, but floral this time! What you can see in the picture on the bottom is this table has a lot of personality and great bones....sounds like I'm trying to sell you on a blind date! She's got a great personality! LOL


This is how the top looked on one of the night stands once I was done scraping the paper off. It only took me about a half an hour to do both. I knew once I saw the tops (bad me didn't get a picture of the one with the burn hole...take my word for it, it was bad!) they would both need to be painted, which was fine with me because this was my plan all along.

In this picture you can see the hardware was missing on the top drawer of one of the nightstands.

I knew all along I wanted to use some Annie Sloan chalk paint on these nightstands. If you don't know anything about chalk paint, let me give you a quick summary...it rocks! One of the best things about it is there's no prep!
This is from the Annie Sloan website www.anniesloan.com
1. It's the BEST paint for painting furniture by a long way
2. No need to prime or prepare3.Extremely low VOCs so it is good for the environment
4. You can use it on any surface, indoors and out ( the outside of our shop was painted in it- perfect!)
5. You can use the paint by diluting it with water to make a wash to show the wood grain
6. The colours are mixed intelligently and the web site shows how you can adapt your colours for your use
7. It's a girls' paint, but boys can use it too.
8. It's flexible so you can be creative and change your mind
9. It allows your walls to breathe so it is perfect for cottage walls
10. You can use it as an impasto ( thickly) - leave the lid off to thicken
11. We've been making it since 1990 so it's tried and tested
The only downfall in using this paint was the fact there are no stores that sell the paint in Connecticut. I found a store in New Jersey that sells the paint online and within 3 days I had my paint kit!
I know I just got done touting the fact that you don't have to do any prep and here is a picture of the piece sanded! Let me explain...the nightstands had a ton of gunky old, beaded up varnish that would have left a terrible texture had I painted over it. So I decided to take my orbital sand to it and see what happened. I kept some of the texture, but took most of it off.


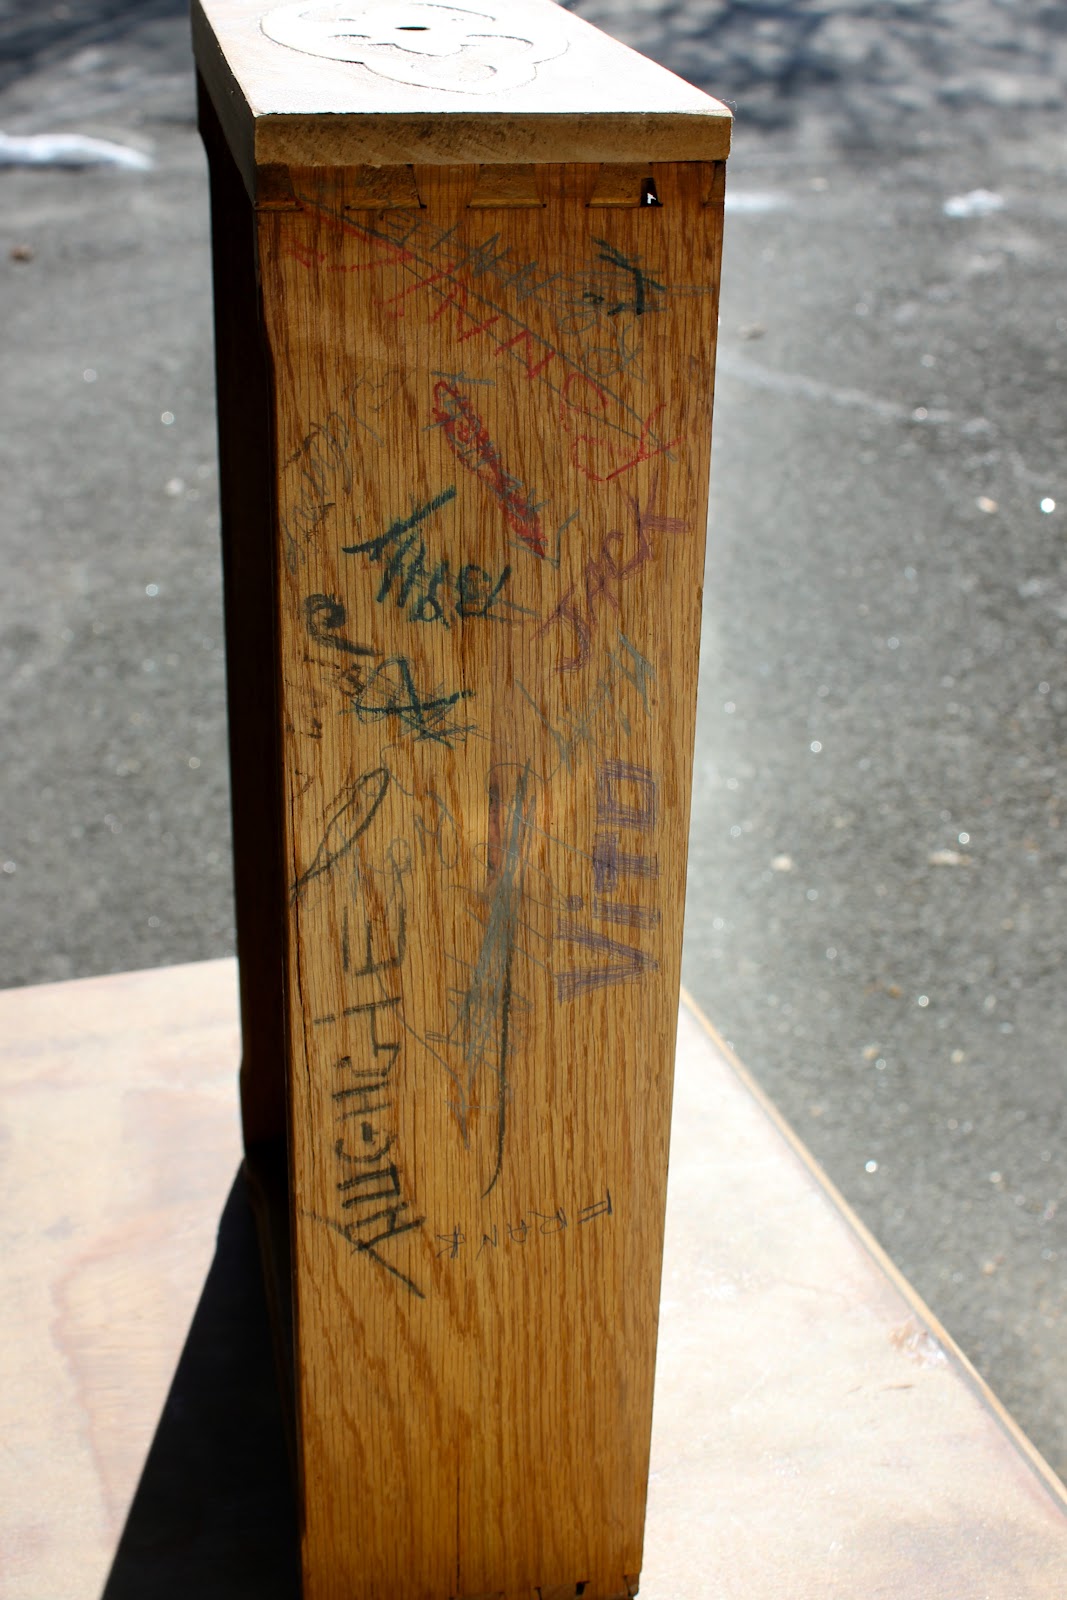
Another fun thing we found in one of the nightstands was this writing on the top drawer. This desk had obviously lived some life in a school and had been signed by lots of different people. Before I started painting, we all had a turn signing the drawer. The insides of the drawers are in great condition so I didn't need to paint them.

This is where I apologize to you, the reader for not having more pictures of the steps I took a long the way. Long story short, my computer decided to have an attack of the forgets and lost the pictures I took along the way. I had a really cute picture of my Son, Hunter, signing the drawer and lots of progress pictures. I will have to explain and you'll need to use your imagination for a minute here :-)
After sanding, I painted 2 coats of Annie Sloan chalk paint in Old White. I love this color! It's a nice off white. On the tops of the nightstands I painted one coat of Old White then a coat of Coco. Coco is a darker taupey brown (yes I made up a word!). Once this was done I put a coat of Annie Sloan's clear wax using a brush. Then after this I wiped off any excess wax with a soft cloth. This is the cool part about this paint...Next step was to distress it with some medium grade sand paper. This paint is a DREAM to sand! It comes off in a chalk consistency and it sands down so easily! I started lightly sanding on the high points and anywhere I wanted to accentuate details like on the top drawer. Then after I saw what would happen I sanded a bit harder where I wanted more wood to show through. Since I had painted a coat of Old White on top underneath the Coco I had places where the Old White showed through and I could go a bit harder to show the wood. Next step was a coat of Annie Sloan' dark wax. Same process....brush on and use a soft cloth to wipe off. I made sure I worked in small sections to insure the wax didn't harden before I could decide how much darkness I wanted. Then wiped off the excess wax with a soft cloth. LAST step was to put one more coat of clear wax with a brush and wipe off the excess again. 24 hours later I buffed it again with a soft, clean cloth to get a nice sheen.
SOOOO here they are!!!!
Here you can see the top is the darker Coco color. I also put a bit of the coco color in the grooves between the drawers.

The hardware is all original, except the top drawer. One of the pulls was missing so I bought 2 I liked at Home Depot and then sprayed all the hardware with Antique Bronze spray paint.

In this picture you can see the groove in the side where the shelf used to be. Best part is you can't see this because they are up against the bed :-)

This is a view of the top of the dresser that had the burn spot....ALL GONE!

This is my nightstand.....the hubby says I have owls on my side because I'm a night owl...LOL

This is hubby's night stand. He says he has morning bird on his because he's a morning person...LOL I didn't really put that much thought into it, but sounds good to me!

This is a straight on shot. As you can see there is a shelf that runs along the tops of the bed and 2 columns that run along both sides. This is why we needed to make sure the nightstands were narrow. With the king bed there wasn't a ton of space, but these babies fit just right!


I just love the legs :-)

The master bedroom is still a work in progress. Next project is to reupholster and paint the bench that goes at the end of the bed. It's currently in the garage all sanded and waiting for some love. Then the next project will be to paint the dresser we bought from our sweet, older Antique store older. Even after a bit of Old English the dresser needs some love....LOL The very best part of redoing all this old furniture is I'm pretty sure no one else will have the same pieces done in the same way. Plus who else could have a desk turned nightstand with Vito and Hughie's autographs?